How to Teach & Cue Chaturanga Dandasana (Safely and Effectively)
Aug 18, 2025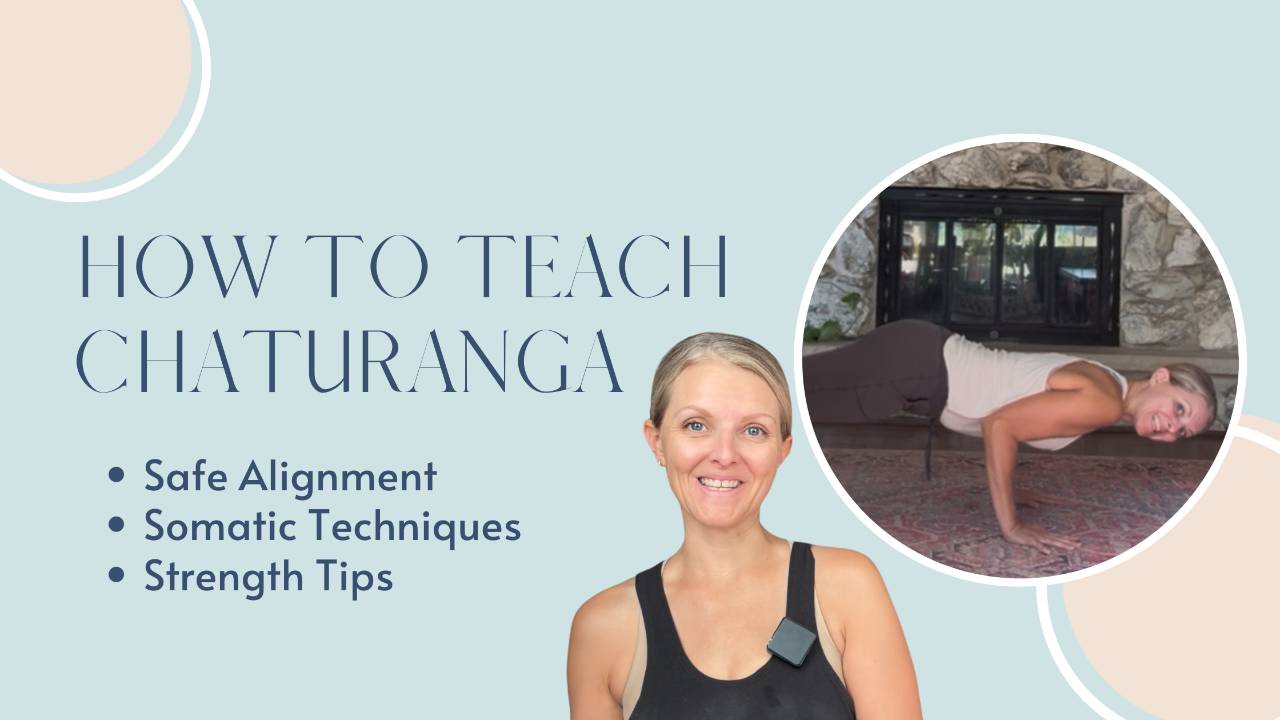
When I think about the most commonly butchered pose in yoga, my mind instantly goes to Chaturanga Dandasana. You know the one: that “half push-up” that we fly through between plank and upward dog.
If you’ve ever heard a student say, “my shoulders hurt when I do yoga,” there’s a good chance this pose is partly to blame. And as yoga teachers, it’s our job to not only teach Chaturanga, but to teach it well—so students stay safe, build strength, and keep coming back.
Today I want to break down how to teach Chaturanga in a way that’s clear, supportive, and (maybe most importantly) free of ego.
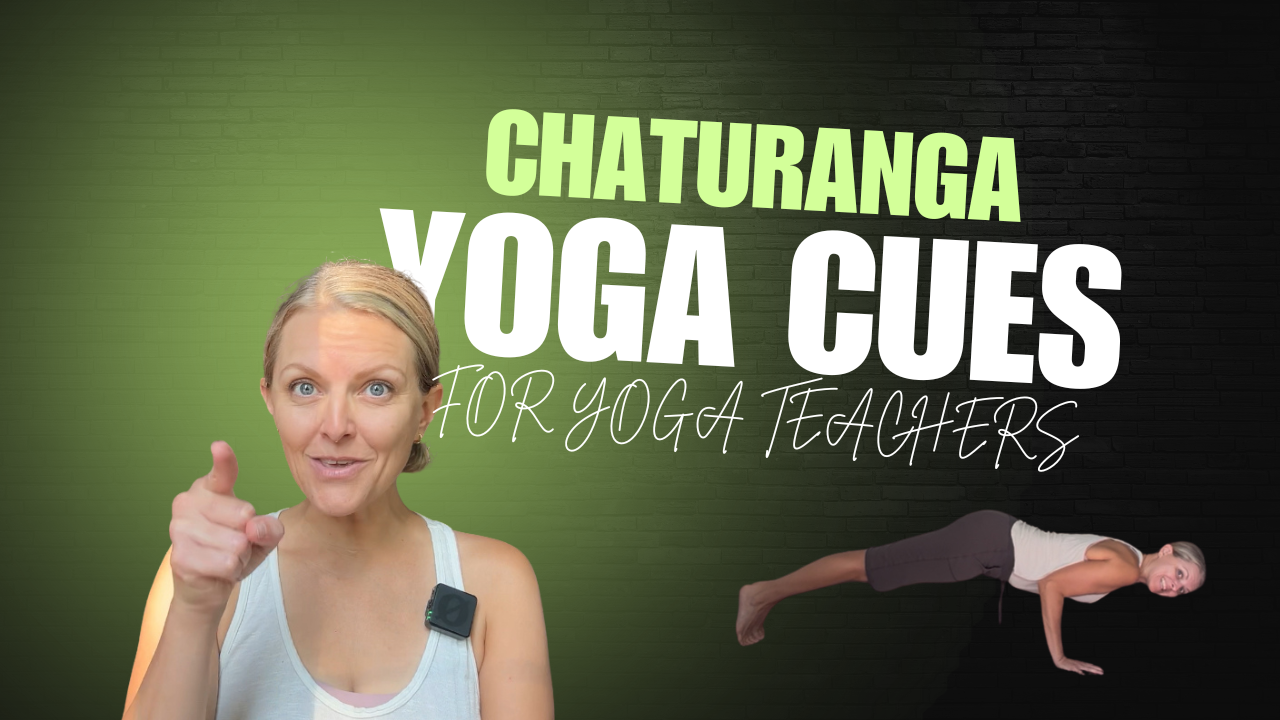
▶︎ I also recorded a full YouTube video on this topic, which you can check out here. And if you want more teaching cues and sequencing ideas, grab my free Yoga Cueing Workbook for Teachers here.
Why Chaturanga is So Tricky to Teach
Chaturanga Dandasana looks simple, but it’s incredibly demanding. Students are lowering their entire body weight with their arms, shoulders, and core working overtime. And most of us don’t walk into yoga class with that level of strength already built.
Here’s what often goes wrong:
-
Students dip the shoulders too low (hello, rotator cuff injuries).
-
Elbows flare out wide instead of hugging in.
-
The chest collapses instead of staying broad.
-
Or… students “face plant” their way down instead of controlling the movement.
Sound familiar?
This is why it’s not only okay—but often necessary—to teach Chaturanga on the knees. Modifications don’t mean “less than.” In fact, they usually mean “smarter.”
How to Cue Chaturanga
Here’s a straightforward way I cue the pose when teaching yoga:
-
From Plank Pose, shift forward so the shoulders stack slightly past the wrists.
-
Hug the elbows in toward the ribs (like cricket legs).
-
Begin to lower halfway down, keeping the chest broad.
-
Stop when the shoulders are at (or slightly above) the elbows—no dipping below.
-
Keep the core engaged and the gaze slightly forward, not down.
When teaching Chaturanga, I don’t just say “if you feel like you’re collapsing, drop to your knees.” That doesn’t actually help students learn the pose, and it can even make them feel like they’re failing. Instead, I like to set my students up for success by teaching the version on the knees first. This gives them the foundation of alignment and strength so they know exactly what’s happening in their body.
Once students understand how to lower with their chest moving forward and their shoulders staying above their elbows, we can talk about trying the version with the knees lifted. But here’s the key: I’ll only suggest they keep the knees up if they can maintain those same alignment markers.
▶︎ For example, I might say: Only keep your knees lifted if you can lower with your chest moving forward, your shoulders staying above the elbows, and your belly not touching down before your chest.
If that isn’t happening yet, then the knees-down variation isn’t a “modification,” it’s just the correct pose for where they are right now. This gives students something tangible to work with instead of leaving them to guess whether they’re “strong enough” for the lifted version.
A Somatic Lens on Chaturanga
Here’s where I like to bring in a somatic element.
Chaturanga can be a place where the ego gets loud. Students want to “keep up” in a vinyasa class. They don’t want to be the one dropping to their knees. But when we push past our limits out of ego, the body suffers.
This is why I veer towards having everyone START on their knees and only lift if they meet specific requirements. That way, more students will be more likely to keep the knees down and those that DO keep the knees down won't feel bad about not lifting them.
Chaturanga can then become an invitation: Can I notice my body’s signals? Can I meet myself where I am today, instead of where I think I “should” be?
This is a powerful lesson—on the mat and off.
Strengthening Drills for Chaturanga
If you want your students to eventually feel confident in Chaturanga, it helps to give them strength-building practices. Here are a few of my favorites:
-
Block lift: Place two yoga blocks under your shoulders while lying belly-down. Tuck the tailbone, to engage the core, and lift the torso off the mat until it's parallel to the ground. Keeping the shoulders supported by the blocks. Hug the elbows in. Hold for a few breaths.
-
Mini push-ups: From plank (or knees-down plank), bend the elbows just a couple of inches, then press back up. Repeat for reps. Keep the tailbone tucked slightly and the torso parallel to the ground.
-
Low cobra holds: Focus on hugging elbows in and broadening through the chest while lifting just a few inches off the floor.
- Elbow planks: Practice plank pose on the elbows and knees and then once that becomes easier for them, they can lift the knees. Keep the torso parallel to the ground.
These drills target the exact muscles students need for Chaturanga success.
Watch the YouTube video here.
Sequencing Tips for Teaching Chaturanga
In my own sequencing, I rarely drop students straight into full Chaturanga without prep. Instead, I’ll:
-
Warm up the core with half boat pose or forearm planks.
-
Strengthen the shoulders with dolphin or mini push-ups.
-
Offer plenty of chances to try Chaturanga on the knees before flowing through.
This way, when students get to that first vinyasa, they’re ready for it—and less likely to “cheat” their way through.
Final Thoughts: It’s Not About the Shape
At the end of the day, teaching Chaturanga isn’t about getting everyone into the “perfect” Instagram-worthy shape. It’s about helping your students build strength safely, listen to their bodies, and practice in a way that feels sustainable.
If you can help your students let go of ego and practice Chaturanga in a way that feels good for their body, you’ve done your job beautifully as a yoga teacher.
▶︎ Want to go deeper?